

3 Tips for “Saving the White” in Watercolor
WATERCOLOR
One of the hardest aspects of painting with watercolor is saving the whites. What does it mean to save the whites in watercolor? It simply means to preserve or keep the white of your watercolor paper to create the brightest white area you can. This is often reserved for highlights. By saving the white of your paper, you can create super sharp details, highlights, and create a super dynamic watercolor painting! It is often a technique that is overlooked when someone is just starting to learn watercolors, but it is so important! Unfortunately, it is also a skill that takes a lot of time and practice, and something I struggle with within almost every single painting I create. So are there little tips and tricks that can help with this aspect of watercolor? Absolutely! I am going to share with you my top 3# tips for saving the white!
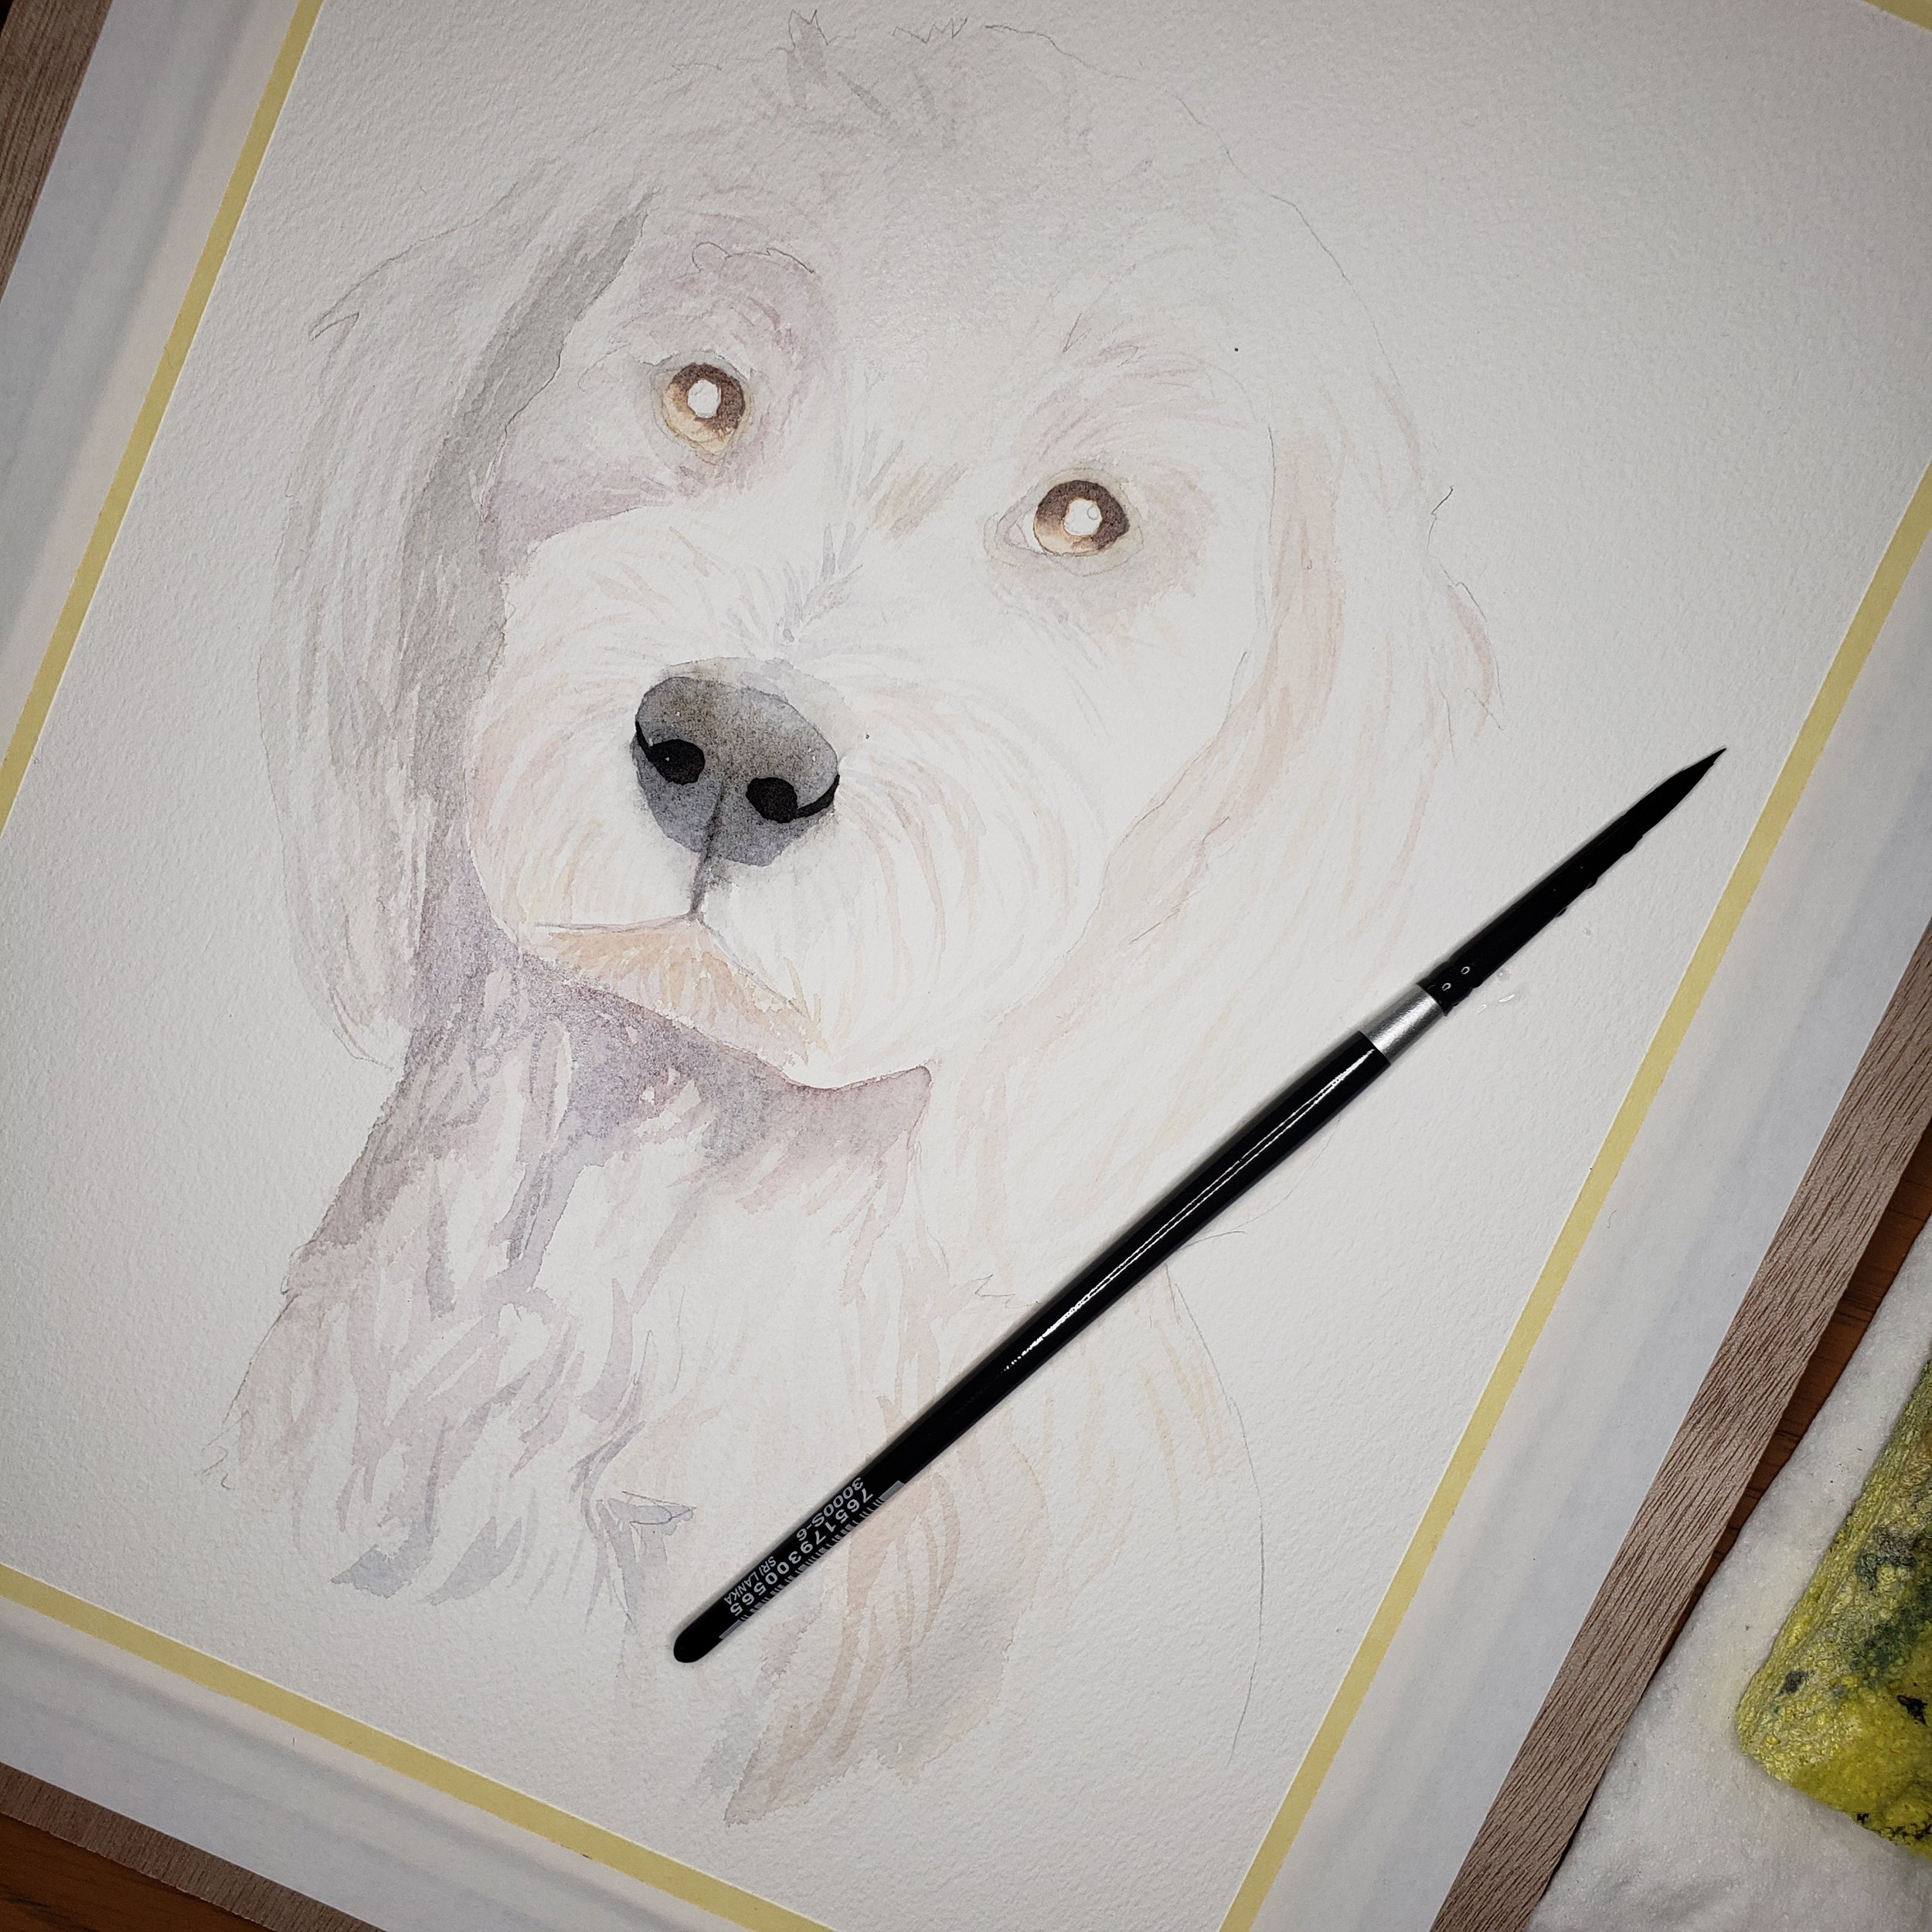
In-Progress Pet Portrait of a white dog
Tip 1#: Preliminary Thumbnails
This may sound super simple, but doing preparatory work before actually diving into a watercolor can make or break a painting. Doing small thumbnail (small sketches, mine usually end up being like 2x2” or 2X3” for reference), with just a pencil or marker and outlining the areas of your painting you definitely want to keep the white of the paper (to achieve the brightest white) can be such a painting saver! You can also use your thumbnails and transfer more of a finished sketch onto your watercolor paper and make sure to outline the areas you want to keep strictly white. I do this for just about every single painting now, because having that visual barrier and reference keeps me from accidentally painting in that space.
Tip 2#: Masking Fluid or Masking Tape
If you have been painting with watercolors for a while, you have most likely come across masking fluid (also called frisket, or liquid latex), or masking tape. These items can be awesome for saving the white of your paper in a painting! Masking fluid or masking tape is often applied after the initial sketch on your watercolor paper, or if you don’t do a sketch, directly onto your watercolor paper before you begin painting. Make sure that you test the masking fluid or tape that you want to use on a scrap of your watercolor paper, some papers tear more easily than others! If you are using masking fluid, getting a ruler pen or using a rubber-tipped brush/clay tool can help give you better control over the flow and shape of the masking fluid lines.
Tip 3#: Painting in the Negative
You may be reading this tip title and thinking “what is she talking about?”. Well, negative painting or painting in the negative simply means that when you are approaching a painting you are focusing on the negative shapes (a negative shape is the space outside of an object). For example, just hold up your hand and look at it. Your hand is part of the positive space. Everything around your hand, the spaces between your fingers, the background behind, that is all negative space. So how does this apply to watercolor painting? Well, when you focus on “carving out” the negative shapes, or, the space around your subject (what you are painting), it is often easier to save the white of your paper because you are “carving” around it. This does take practice but can be super fun! An exercise that I always do with students is to draw a shape on a piece of watercolor paper, and then create washes around the shape- keeping the inside of the shape white. This is a fantastic and honestly fun exercise that can help get your brain into thinking about the negative space.